

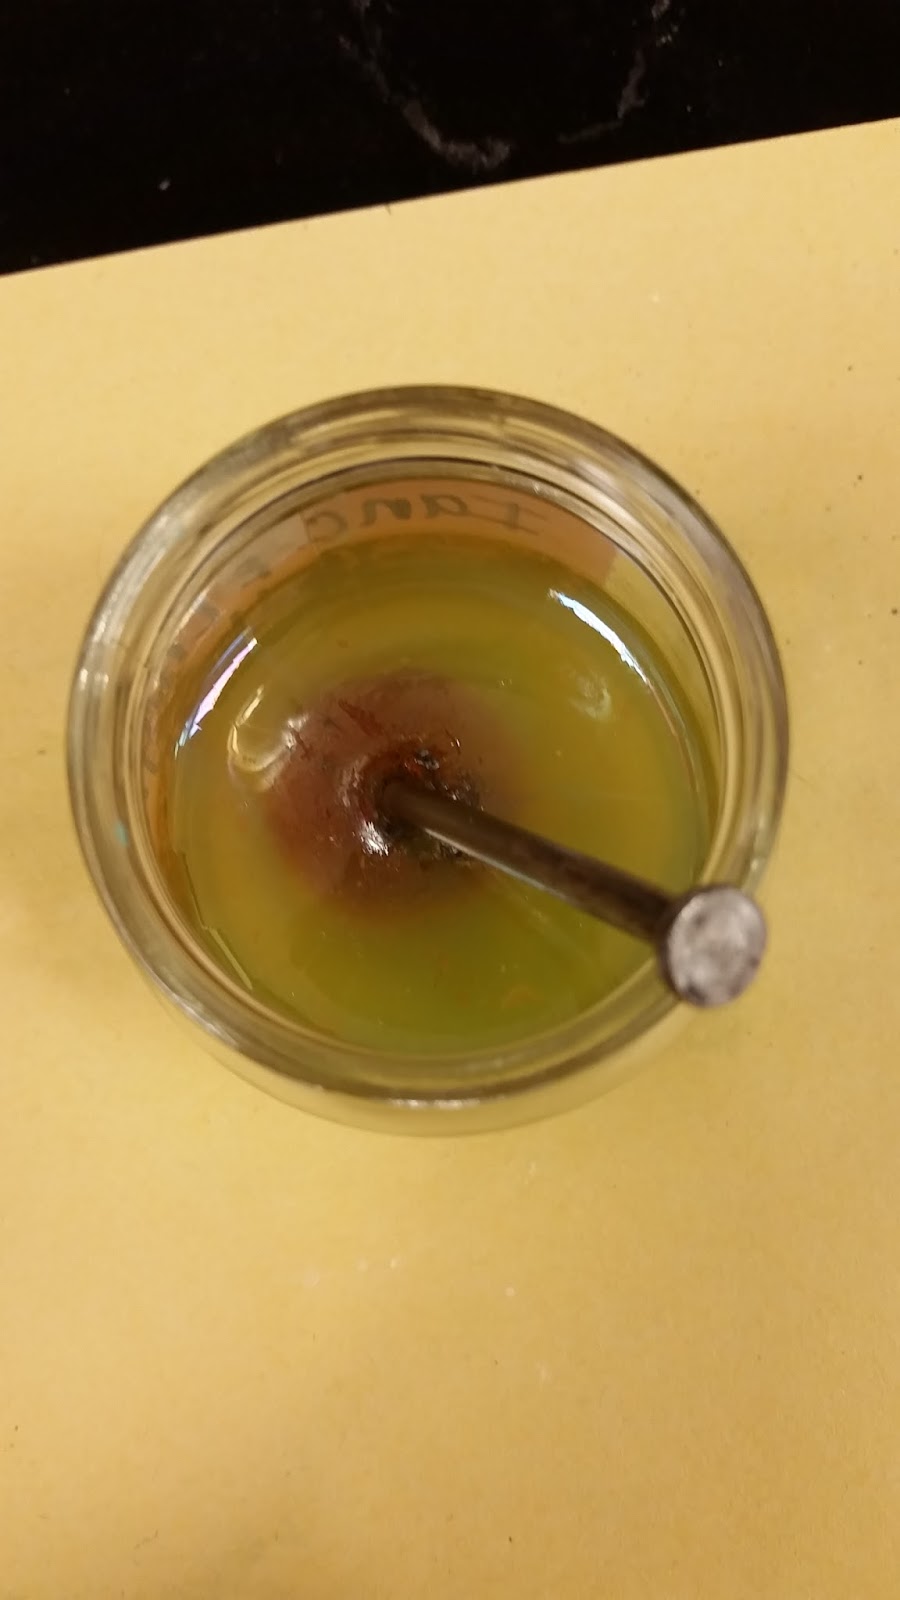
 You can see that the copper immediately began to form. On Friday, we came back to the lab and found our baby food jar like this...
In order to separate the copper from the rest of the solution, we pulled out the rest of the iron nail, washing off the remaining copper on the nail with distilled water back into the baby food jar. Then, we siphoned off the solution of iron (II) chloride into the sink, careful not to lose any of the copper the reaction produced. We then added hydrochloric acid to the baby food jar to wash the copper and also siphoned it off into the sink. Lastly, we washed the copper again with distilled water and siphoned off the water. Finally, we left the copper in the baby food jar and the nail on a paper towel to dry. We will finish measurements this week.

Although I completed this lab also, I really like how your post explains the lab into depth and has pictures that go along with each day and explanation.
ReplyDeleteGreat post Lilly! I really liked how you put explanations next to the pictures of what was happening in them! I also thought you did a great job of summarizing the process of this lab.
ReplyDeleteLilly this post is awesome! The pictures are super great and actually show the process that the nail went through during the entire experiment. Although I did the lab as well, I agree with Madison that this is extremely in depth.
ReplyDelete